
Learn how to make digestive bitters at home with this complete DIY guide. Discover the best herbs, roots, and alcohol bases to craft your own gut-healing bitters in just 2–4 weeks.
Digestive bitters have been used for centuries across cultures to support gut health, stimulate digestive enzymes, and ease bloating after meals. Today, they’re experiencing a well-deserved revival — not just behind the bar as cocktail ingredients, but as everyday wellness tinctures taken before or after meals.
The good news? Making your own digestive bitters at home is easier than you might think, far cheaper than buying them, and infinitely customizable to your taste and health goals.
If you want to know what bitters are and why they work, see this previous article here. In this guide, you’ll learn which ingredients to use to make digestive bitters, and a step-by-step process to craft your first batch.
Key Ingredients for Homemade Digestive Bitters
Successful bitters are built from three categories of ingredients: bittering agents, supporting herbs and aromatics, and an alcohol base. Balance is everything — you want complexity, not just raw bitterness. After all, bitters are not known for their pleasant experience.
1. Bittering Agents (The Foundation)
These are the non-negotiable core of any bitters recipe. Choose one or two as your primary bitter base:
- Gentian root — the gold standard of bittering agents; intensely bitter with earthy undertones. A small amount goes a long way.
- Dandelion root — milder, slightly earthy, with added liver-supportive benefits.
- Burdock root — earthy and mildly bitter, excellent for digestive and skin health.
- Angelica root — warm, slightly sweet, and aromatic with a strong bitter backbone.
- Artichoke leaf — bitter and slightly savory; great for fat digestion and liver support.
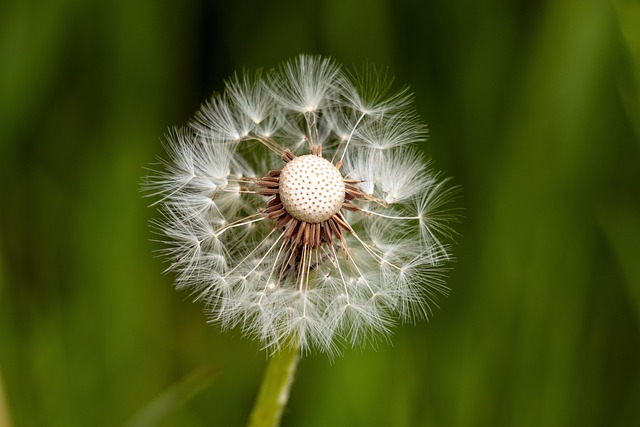
- Wormwood (Artemisia absinthium) — powerful bitter, use sparingly; classic in European aperitif bitters.
- Yellow dock root — bitter and mildly astringent, excellent digestive tonic.
2. Supporting Herbs, Aromatics & Spices
These add depth, sweetness, warmth, and complexity to balance the bitterness:
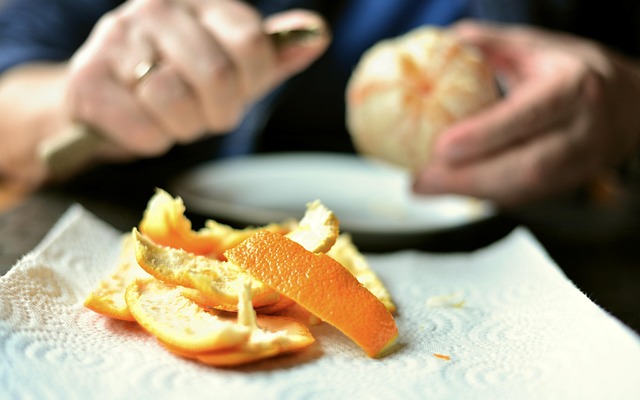
- Citrus peel (orange, lemon, grapefruit) — bright, aromatic, slightly bitter on its own
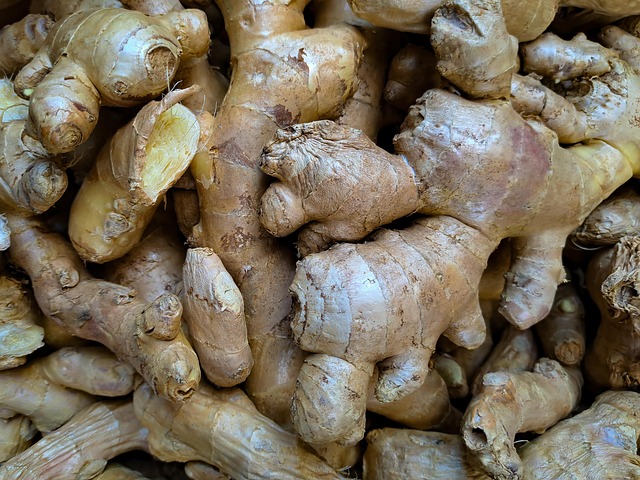
- Ginger root — warming, anti-nausea, stimulates digestion
- Cardamom pods — fragrant, sweet, helps with gas and bloating
- Fennel seed — sweet, anise-like; classic carminative (gas-relieving)
- Cinnamon bark — warming and sweet; adds depth
- Cloves — intensely aromatic; use sparingly
- Black pepper — activates digestion and enhances bioavailability of other botanicals
- Coriander seed — floral, citrusy, and gently warming
- Licorice root — naturally sweet; balances intensity and soothes the GI tract
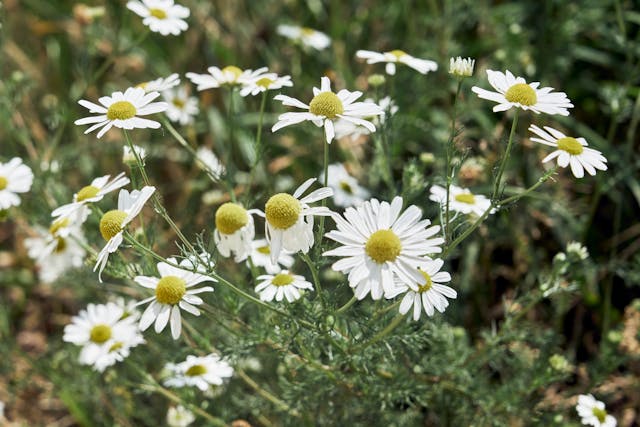
- Chamomile flowers — calming, anti-inflammatory, mildly bitter
- Turmeric — anti-inflammatory, adds earthy warmth and a golden color
- Lavender — floral, calming; use in small amounts to avoid a soapy flavor
- Peppermint — cooling, eases nausea and cramping
3. Alcohol Base
The alcohol serves as both the solvent (extracting medicinal compounds from botanicals) and the preservative:
- High-proof vodka (80–100 proof / 40–50% ABV) — neutral flavor, ideal for letting botanicals shine. Best for beginners.
- Bourbon or rye whiskey — adds warm, caramel, and vanilla notes. Great for warming, spiced bitters.
- Brandy or cognac — fruity and sweet; pairs beautifully with citrus-forward bitters.
- Apple cider vinegar — for a non-alcoholic version (though flavor and preservation differ significantly).
Note: Higher alcohol content (at least 40% ABV / 80 proof) is necessary to extract resins and alkaloids from roots and bark, and to preserve your bitters for shelf stability.
Equipment You’ll Need
- Glass mason jars (pint or half-pint) with lids
- Fine mesh strainer or cheesecloth
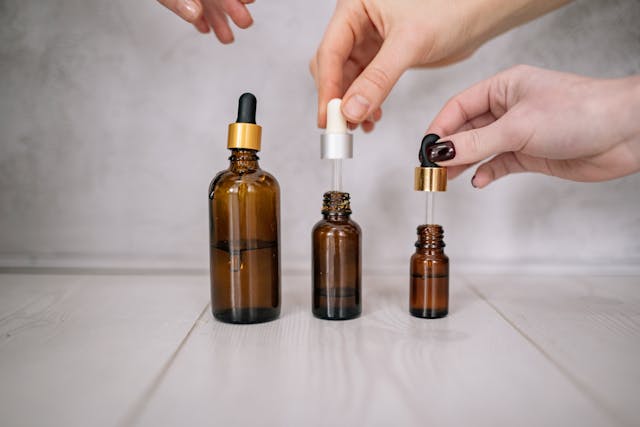
- Dark glass dropper bottles or small bottles for storage
- Kitchen scale or measuring spoons
- Labels and a permanent marker
- A small funnel
Basic Digestive Bitters Recipe (Beginner-Friendly)
This recipe makes approximately 8 oz (240 ml) of finished bitters — enough to fill two 4-oz dropper bottles.
Ingredients
Bittering base:
- 1 tsp dried gentian root
- 1 tsp dried dandelion root
Aromatics & digestive herbs:
- 1 tbsp dried orange peel (or the fresh peel of 1 large orange)
- 1 tsp dried ginger root (or 1 inch fresh ginger, sliced)
- ½ tsp fennel seeds
- ½ tsp cardamom pods, lightly crushed
- ¼ tsp cinnamon chips or 1 small cinnamon stick
- ¼ tsp whole cloves (3–4 cloves)
- ½ tsp coriander seeds
Liquid:
- 1 cup (240 ml) high-proof vodka (80 proof minimum)
Step-by-Step Instructions
Step 1: Prepare Your Botanicals
If using dried herbs and roots (recommended for beginners), measure them out and add them directly to a clean glass mason jar.
If using fresh citrus peel, use a vegetable peeler to remove only the colored outer layer (avoiding the bitter white pith). Roughly chop fresh ingredients before adding.
Lightly crush whole spices like cardamom and coriander using the back of a spoon or a mortar and pestle — this opens up the seeds and improves extraction without over-grinding.
Step 2: Combine with Alcohol
Pour the vodka over your botanicals in the jar. Make sure all plant material is submerged. If herbs float to the top, gently press them down.
Seal the jar tightly.
Step 3: Steep and Infuse
Store the sealed jar in a cool, dark location — a cupboard or pantry is ideal. Avoid temperature fluctuations.
- Shake the jar once daily to agitate the botanicals and encourage extraction.
- Steep for 2–4 weeks. Taste weekly starting at the 2-week mark. The bitters are “done” when the flavor is complex, balanced, and satisfyingly bitter with aromatic depth.
A longer infusion extracts more of the bitter compounds from roots and bark. For aromatic spices, over-infusing can turn flavors harsh — taste and trust your palate.
Step 4: Strain
After steeping, pour the liquid through a fine mesh strainer lined with cheesecloth into a clean jar or pitcher. Squeeze the cheesecloth to extract as much liquid as possible. Discard or compost the spent botanicals.
If the liquid is still cloudy, strain a second time.
Step 5: Taste and Adjust (Optional)
Now is the time to tweak your bitters:
- Too bitter? Add a small piece of licorice root and steep for a few more days, or add a teaspoon of vegetable glycerin to sweeten slightly.
- Too mild? Add a bit more gentian root and steep for another week.
- Want more citrus or spice? Add fresh peel or toasted spices, steep a few more days, then strain again.
Step 6: Bottle and Label
Pour finished bitters into dark glass dropper bottles using a small funnel. Dark glass protects the bitters from light degradation.
Label each bottle with:
- Name of the blend
- Date made
- Key ingredients
Store in a cool, dark location. Properly made alcohol-based bitters last 5+ years and do not require refrigeration.
How to Take Digestive Bitters
For digestive support:
- Take ¼ to ½ teaspoon (1–2 dropperfuls) 15–30 minutes before a meal to prime digestion.
- Alternatively, take immediately after eating if you feel overly full, bloated, or gassy.
How to take them:
- Directly on the tongue (the most effective method — the bitter taste triggers the reflex)
- In a small amount of still or sparkling water
- In cocktails or mocktails as a flavor enhancer
Start with a small dose and increase gradually. Most people use bitters 1–3 times per day.
Popular Digestive Bitters Variations to Try
Once you’ve mastered the basic recipe, experiment with these flavor profiles:
Citrus & Ginger Bitters
Double the orange peel, add lemon peel, increase fresh ginger. Bright, zesty, warming.
Warming Chai Bitters
Use dandelion root as your bitter base, with cinnamon, cardamom, ginger, cloves, black pepper, and a star anise pod. Use bourbon as your base spirit.
Floral & Herbal Bitters
Use artichoke leaf as your bitter base with chamomile flowers, lavender (small amount), fennel, and lemon peel. Light and elegant.
Classic Aromatic Bitters (Angostura-Style)
Gentian root, cinnamon, cardamom, cloves, and a pinch of allspice in a rye whiskey base. Complex and deeply aromatic.
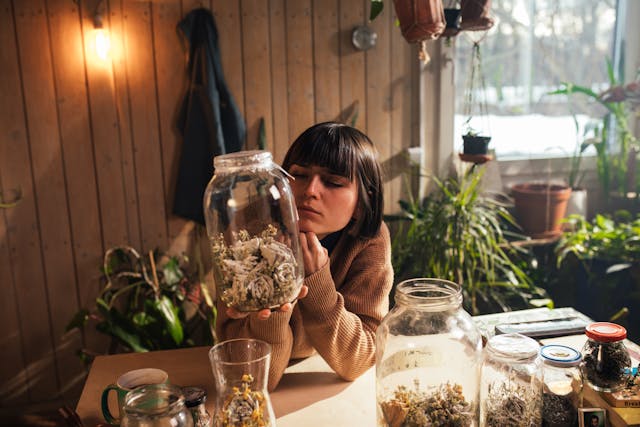
Sourcing Quality Botanicals
The quality of your ingredients directly impacts the quality of your bitters. Look for:
- Organic, dried herbs and roots from reputable herbal suppliers like Mountain Rose Herbs, Starwest Botanicals, or Frontier Co-op
- Fresh citrus from organic or spray-free sources when possible, since you’ll be using the peel
- Fresh ginger and turmeric from a farmers’ market or grocery store works beautifully
Avoid botanicals that are faded, have no scent, or have been sitting in your pantry for years — freshness matters.
Safety Considerations
- Avoid wormwood in large amounts — it contains thujone, which can be harmful in excess. Use sparingly or substitute with gentian.
- Consult a healthcare provider if you are pregnant, breastfeeding, taking medications (especially blood thinners, antacids, or diabetes medications), or have a diagnosed GI condition like GERD, ulcers, or IBS before using bitters regularly.
- Bitters are not a substitute for medical treatment. They are a complementary wellness tool.
- Keep out of reach of children due to high alcohol content.
While most of the herbs in this recipe are safe for everyday, ongoing use, a few ingredients warrant cycling — meaning you take them for several weeks, then give your body a break before resuming.
Gentian root and wormwood are the most important to watch: both are potent bitters that can over-stimulate stomach acid production with prolonged continuous use, potentially worsening conditions like acid reflux or gastritis over time.
Yellow dock root contains oxalic acid and anthraquinone glycosides that can be taxing on the kidneys and bowels if taken daily for months on end.
Similarly, dandelion root is generally very safe but acts as a significant diuretic, and long-term heavy use may affect electrolyte balance.
Licorice root deserves special mention: consumed in meaningful amounts daily for more than four to six weeks, its active compound glycyrrhizin can raise blood pressure and cause potassium depletion — a real concern for anyone with cardiovascular issues.
A sensible approach is to use your bitters consistently for four to six weeks, then take a one- to two-week break before resuming. This “pulsed” approach is standard practice in Western herbalism and helps ensure your digestive system continues to respond to the bitter reflex rather than adapting to it.

Frequently Asked Questions
How long do homemade digestive bitters last? Alcohol-based bitters are self-preserving and typically last 5 or more years when stored in a cool, dark place. Apple cider vinegar-based bitters have a shorter shelf life of 6–12 months and should be refrigerated.
Can I make bitters without alcohol? Yes — you can use raw apple cider vinegar as the solvent instead of spirits. The flavor and extraction will differ, and the shelf life will be shorter, but it’s a viable alcohol-free alternative.
How soon will I feel the benefits? Many people notice improved digestion (less bloating, better appetite regulation, reduced heaviness after meals) within the first week of consistent use. Longer-term benefits like improved gut motility may take 4–6 weeks.
Do digestive bitters break a fast? A few drops of bitters contain negligible calories and carbohydrates. Most people who practice intermittent fasting consider bitters acceptable during a fasted window, but consult your approach or practitioner if you’re following a strict protocol.
What’s the difference between digestive bitters and cocktail bitters? They’re made the same way! The difference is mostly in dosage and intention. Cocktail bitters (like Angostura) are used in dashes for flavor. Digestive bitters are taken in slightly larger doses (¼–1 tsp) specifically for their physiological effect on digestion.
Final Thoughts
Making your own digestive bitters is a rewarding, practical, and deeply satisfying craft. With a handful of dried herbs, a bottle of vodka, and a few weeks of patience, you’ll have a personalized gut-health tonic that rivals anything on the market — at a fraction of the cost.
Start with the basic recipe, taste as you go, and don’t be afraid to experiment. Bitters-making is as much art as science, and your palate is the best guide you have.
Your gut will thank you.